
The Weekend Maintenance Checks That Prevent Expensive Repairs
A practical checklist of quick fluid, tire, and light inspections any driver can do at home to catch small problems before they grow.
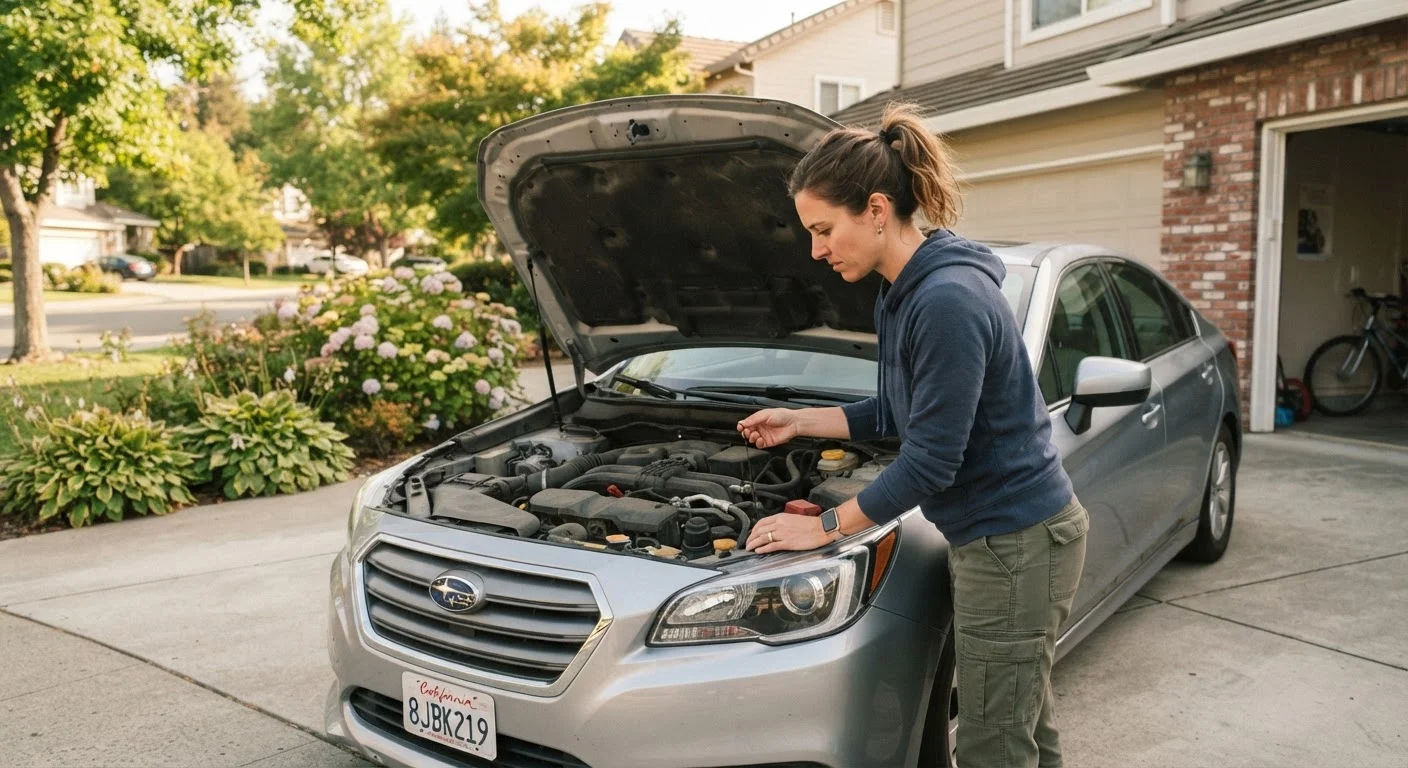
Photo: appropriateanswers.com editorial
—— In This Article
Key Takeaways
- Most of these checks require no tools and take less than five minutes each.
- Catching a low fluid level or worn wiper blade early costs nothing; ignoring it can cost hundreds.
- Tire pressure and tread depth are the two checks most directly linked to safety and fuel costs.
- A consistent weekly or biweekly routine is more useful than an annual deep inspection.
- Your owner's manual remains the best guide for fluid types and replacement intervals.
Why a weekend check matters
Most expensive car repairs share a common history: a small, detectable problem that went unnoticed for months. A slow coolant leak becomes an overheated engine. A tire running five PSI low wears unevenly and fails a rotation inspection. A cracked wiper blade turns a rainy highway into a visibility hazard. None of those outcomes are inevitable.
The checks on this list are not a substitute for your manufacturer's service schedule. For a full picture of what intervals apply to your vehicle, see understanding your car's maintenance schedule. What this list covers is the layer of routine observation that happens between shop visits, done by you, in your driveway, with no special equipment.
It is also worth understanding what is actually true about car care versus what is outdated habit. If you have heard that you must change your oil every 3,000 miles or that you need to warm up your engine in winter, auto maintenance myths that are draining family budgets breaks down what the evidence actually says.
Never open the radiator cap on a hot engine
Coolant in a hot engine is under pressure. Removing the radiator cap before the engine cools fully can cause hot fluid to spray out and cause burns. Always wait at least 30 minutes after driving before checking coolant, and use the translucent reservoir instead of opening the cap directly.
What you need before you start
Keep these items in your garage or trunk so the checks stay quick and consistent.
Tire pressure gauge
Measures PSI in each tire so you can compare against the door-jamb specification.
Quarter (US coin)
Used to check tread depth: insert it upside down to gauge whether tread is worn past a safe level.
Clean lint-free rag
Needed to wipe the oil dipstick before taking an accurate reading.
Flashlight or phone torch
Helps you see inside the engine bay, under hoses, and around belt surfaces in shadowed areas.
Owner's manual
Confirms the correct fluid types, capacities, and the door-jamb tire pressure spec for your specific vehicle.
The weekend maintenance checklist
Work through these groups in order. The fluids check takes the most time; everything else moves quickly once you build the habit.
Fluid levels
Tires
Lights and visibility
Under the hood and exterior
What to do when you find a problem
Finding something wrong is the whole point. A low fluid level on its own is usually not an emergency, but it is a signal worth tracking. Top it off with the correct fluid type listed in your owner's manual, then check again in a week. If the level has dropped again, there is likely a leak that needs a shop visit.
A dashboard warning light alongside an abnormal reading deserves prompt attention. For help decoding what a warning light actually means before you call a shop, what your check engine light is actually telling you covers the most common triggers and which ones can safely wait.
If a shop quotes a repair that surprises you, getting a second opinion on auto repairs explains how to compare estimates without pressure. And if you are weighing whether to handle a minor fix yourself, doing minor car repairs yourself gives an honest look at where DIY saves money and where it does not.
Tire wear patterns spotted during your checks can point to alignment or balancing issues. Tire rotation, balancing, and alignment explains what each of those services corrects so you can ask for only what your car actually needs.

Affordable Auto Care Editorial Team
Affordable Auto Care Editorial Team is the collective byline for our editorial team and contributor network. Articles published under this byline or an editorial pen name are researched, written, and reviewed according to our editorial standards for clarity, consistency, and independence before publication.
View author profile