
Before You Call a Plumber: What Homeowners Can Safely Fix Themselves
Some plumbing jobs are well within a careful homeowner's reach. This guide identifies which fixes are DIY-friendly and which genuinely require a licensed pro.
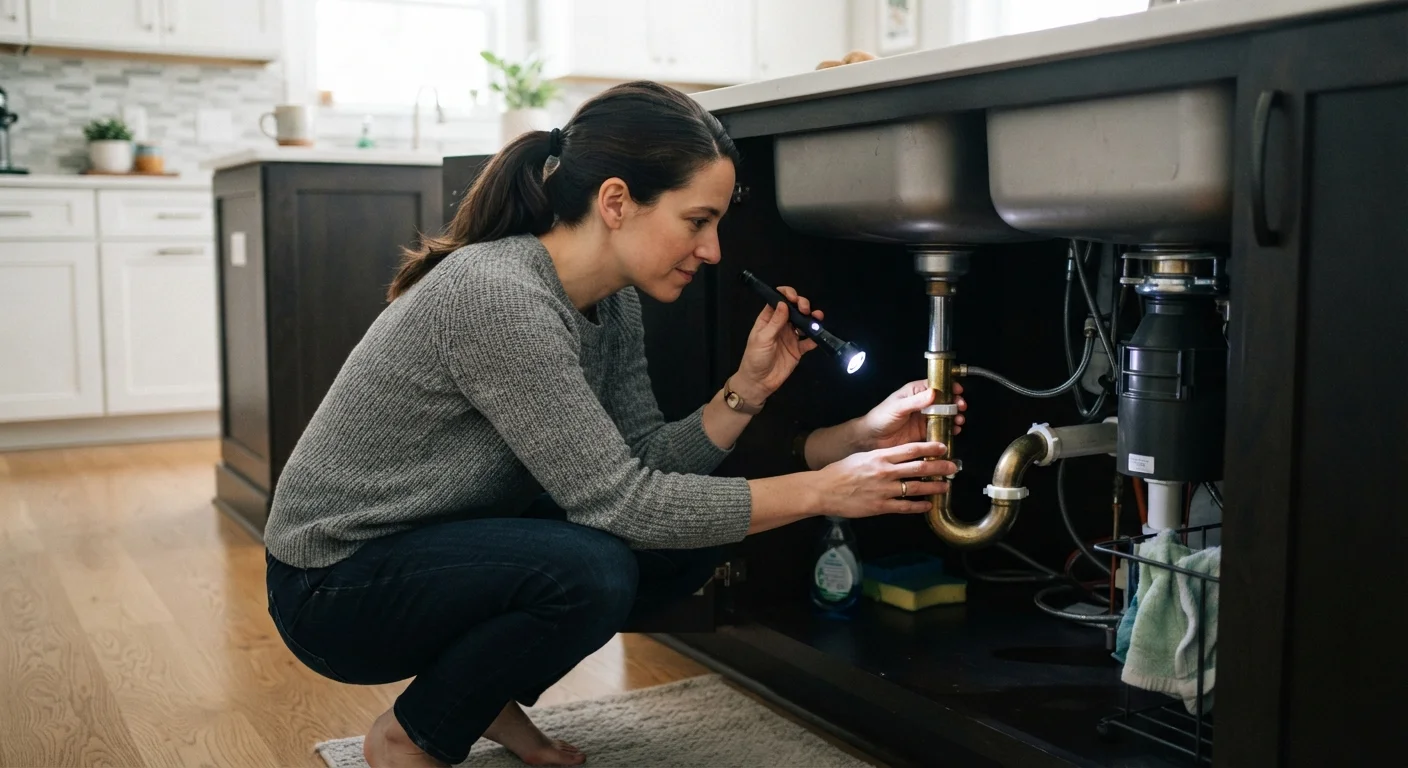
Photo: appropriateanswers.com editorial
—— In This Article
Key Takeaways
- Many common plumbing fixes require only basic tools and no professional license.
- Knowing when to stop and call a licensed plumber protects your home and your budget.
- Water supply shutoffs are the single most important thing to locate before any plumbing work.
- Permitted work and inspections are legally required for certain plumbing alterations in most US jurisdictions.
- DIY plumbing mistakes can void homeowner's insurance claims if work was unpermitted.
Why the DIY vs. pro line matters for plumbing
Plumbing repairs fall into a wide spectrum. On one end sit simple fixes any careful adult can handle with a wrench and a trip to the hardware store. On the other end sit jobs involving gas lines, main water supply connections, or structural changes that require a licensed plumber and, in most jurisdictions, a permit and inspection.
The cost difference between a $12 flapper valve and a $300 plumber visit is obvious. What is less obvious is where the line sits between those two situations. Get that wrong in one direction and you spend money you did not need to spend. Get it wrong in the other direction and you risk water damage, mold, code violations, or an insurance claim that gets denied because work was unpermitted.
This checklist helps you make that call accurately. It covers the tools you need, the fixes that are genuinely within reach, and the clear signals that tell you to put the wrench down and pick up the phone. For a broader look at how skipping routine upkeep tends to compound costs, see how deferred maintenance inflates repair bills.
Turn off the water before you touch anything
Every plumbing repair starts with closing the right shutoff valve. For fixture-level repairs, use the stop valve directly behind or beneath the toilet, sink, or appliance. If that valve does not fully stop the flow, locate the main house shutoff before proceeding. Never start disassembly with live water pressure in the line.
Tools and supplies to have on hand
Most DIY plumbing fixes share a common toolkit. Having these items before you start a job prevents mid-repair trips to the store while water is shut off to part of your house.
Adjustable wrench
Tightens and loosens supply line nuts and packing nuts without damaging soft metal fittings.
Channel-lock pliers
Grips slip-joint fittings and large nuts that an adjustable wrench cannot reach comfortably.
Plumber's tape (PTFE tape)
Seals threaded connections on showerheads, supply lines, and pipe fittings to prevent slow leaks.
Hand sink auger
Clears blockages in drain lines that a plunger cannot reach.
Bucket and old towels
Catches residual water in pipes when you open connections, preventing floor damage.
Replacement cartridge or repair kit (faucet-specific)
Most faucet repairs require a part matched to the exact make and model; a generic kit often does not fit.
Flashlight or headlamp
Lights up under-sink and behind-toilet spaces where cabinet shadows make it hard to see leak points.
Plumber's putty
Seals drain flanges and some fixture bases; check the fixture instructions first, as some materials require silicone instead.
The DIY plumbing checklist
Work through these groups in order. The preparation steps are not optional; skipping them is how manageable fixes turn into expensive emergencies.
Preparation
Fixes most homeowners can handle
Fixes that require caution and some experience
Final checks before restoring water
When to stop and call a licensed plumber
Some situations call for a pro regardless of your skill level or confidence. In most US states, work touching the main water supply line, sewer lateral, or any gas-connected water heater requires a licensed plumber and a permit. Opening walls to access pipes in homes built before 1986 may disturb lead solder or asbestos-wrapped insulation, which creates a separate set of regulatory and safety requirements.
Stop and call a licensed plumber if you encounter: water that does not stop after closing the shutoff valve, pipe corrosion that extends beyond the visible repair area, sewage odor coming from more than one fixture at the same time, or any pipe that looks soldered rather than threaded or push-fit. The common myths about DIY home improvement article covers several cases where confident homeowners overestimated their repairs and ended up paying more.
Verify your local permit requirements with your city or county building department before starting any job that involves replacing supply lines, moving drain locations, or installing new fixtures. That call takes five minutes and can prevent fines or forced demolition of work that was not inspected.

Home On A Budget Editorial Team
Home on a Budget Editorial Team is the collective byline for our editorial team and contributor network. Articles published under this byline or an editorial pen name are researched, written, and reviewed according to our editorial standards for clarity, consistency, and independence before publication.
View author profile